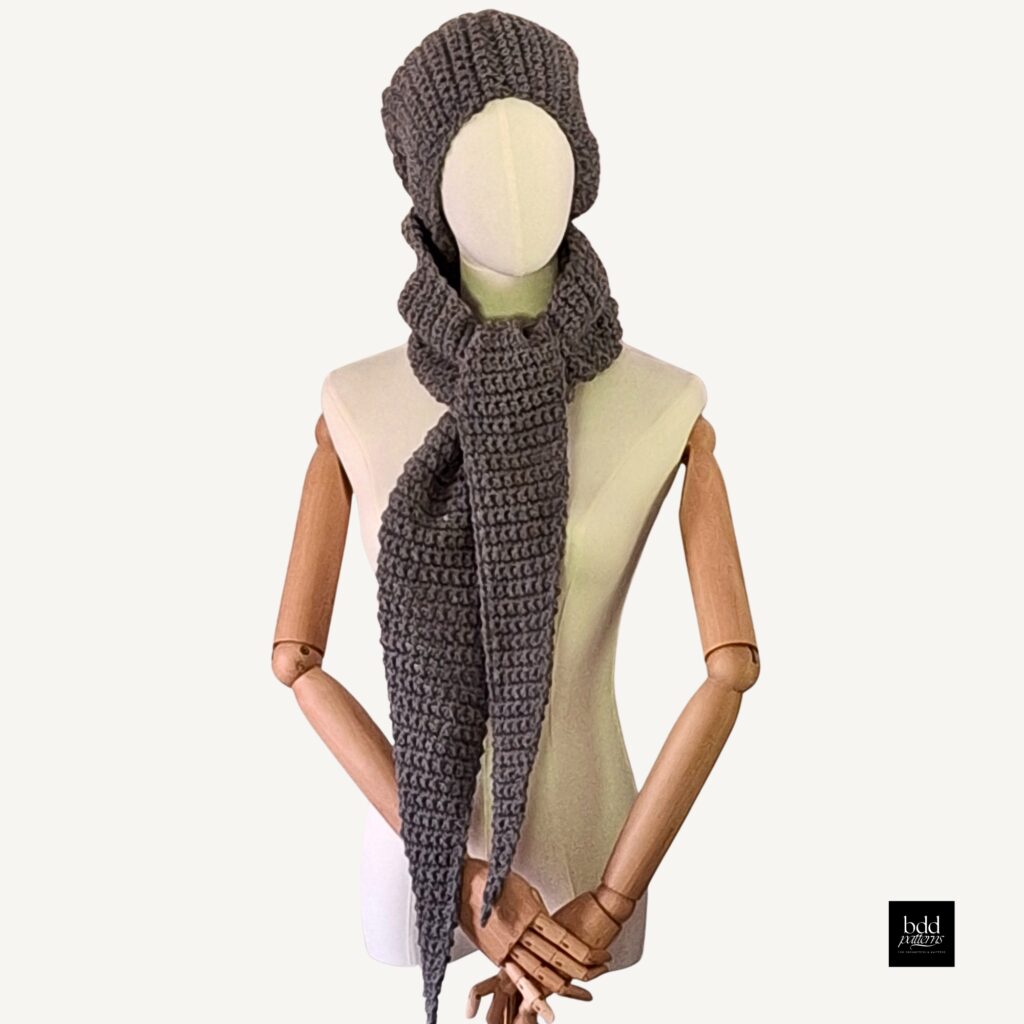
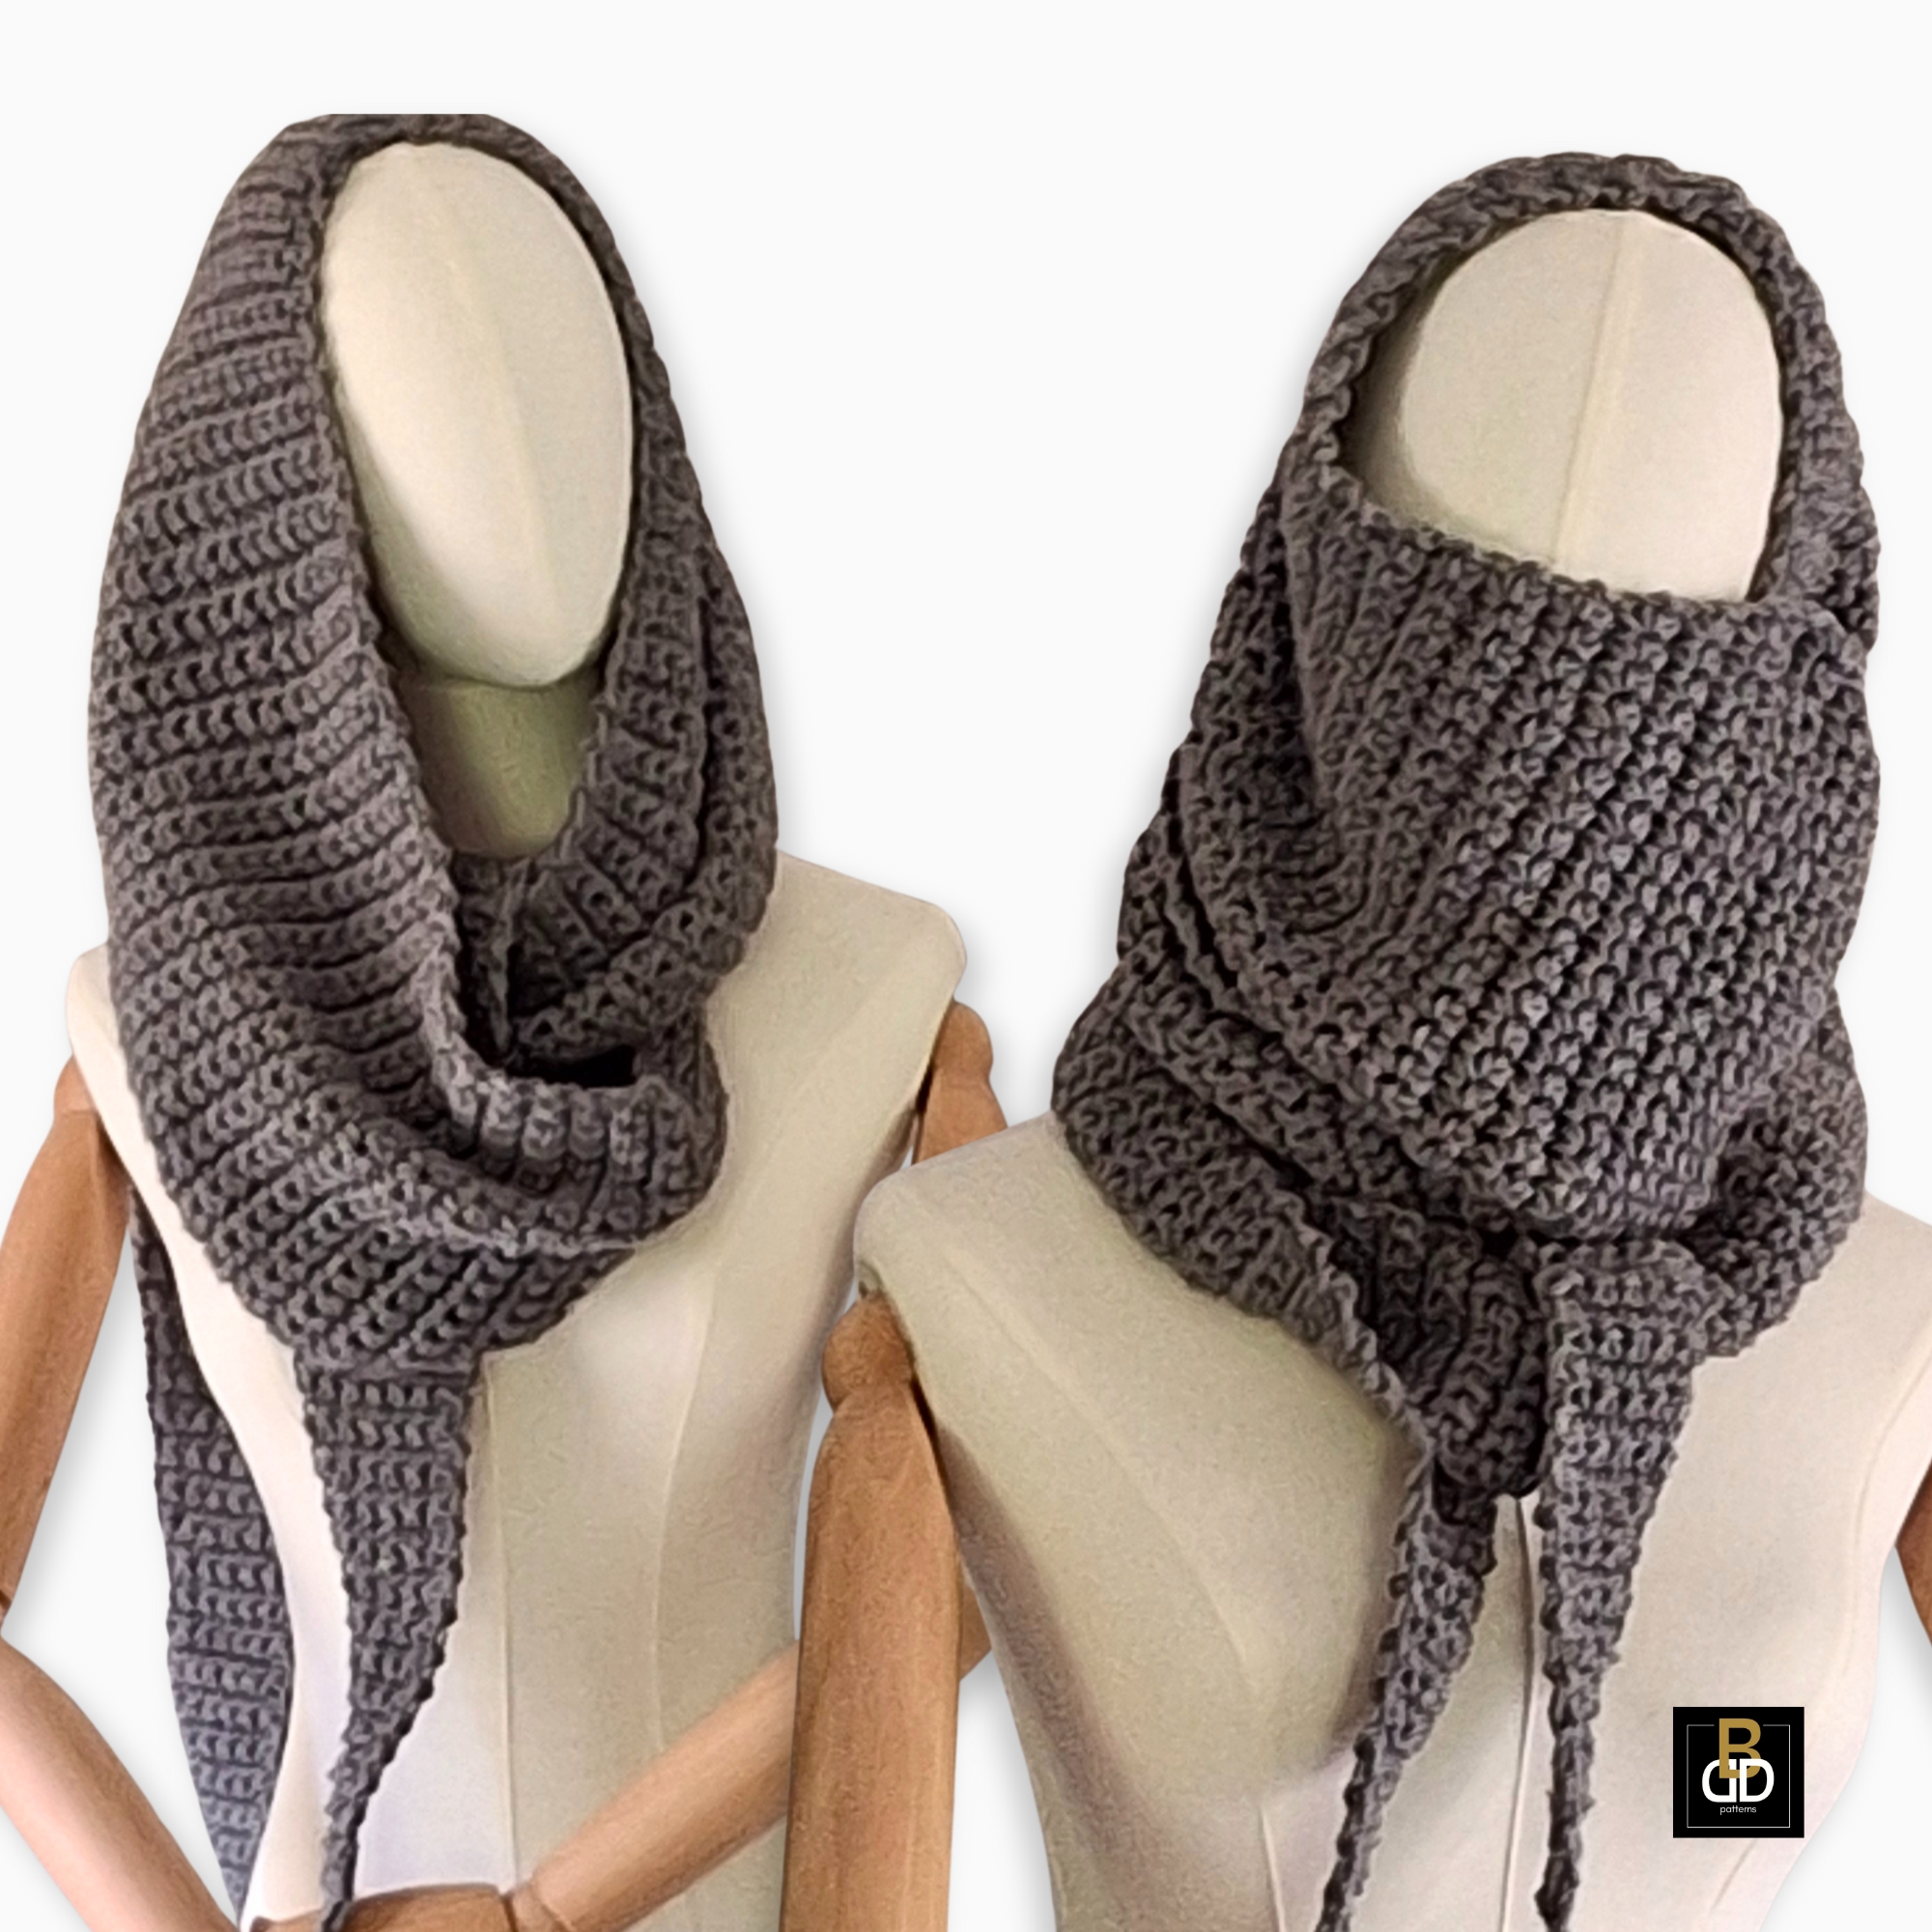
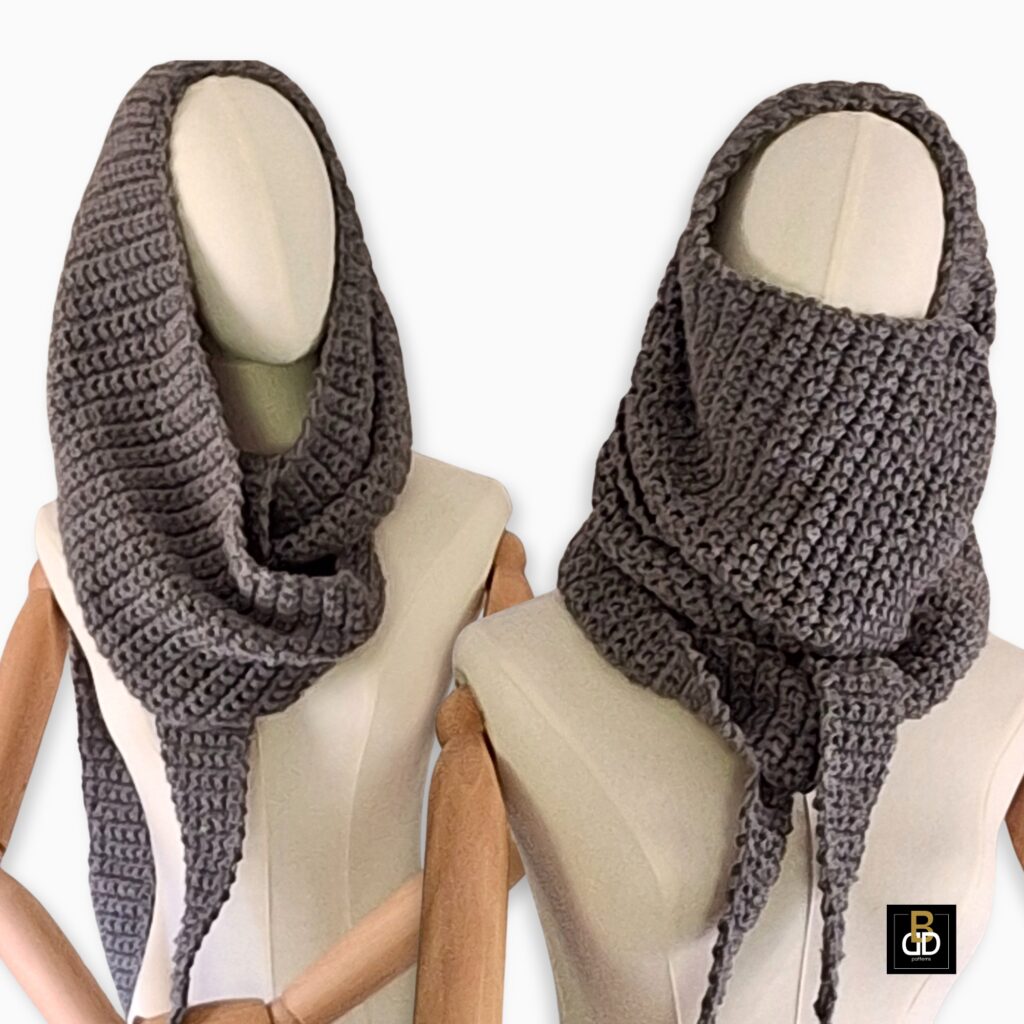
Crochet Scoodie Pattern: Easy Hooded Scarf Tutorial You Can Make in a Day
f you’re searching for a crochet scoodie pattern that’s practical, cozy, and achievable in just a day, you’ll love this design from Janet at BDDPatterns. A scoodie—a hooded scarf—offers the warmth of a hood with the style and function of a scarf. This project is beginner-friendly, uses #4 worsted yarn with a 6mm hook, and grows quickly with simple increases.
In this blog post, I’ll walk you step-by-step through how to crochet a scoodie that’s worked from tip to top of the hood with an easy repeat. You’ll only need to make two matching panels, seam them together, and you’re ready to stay warm all winter long.
Materials and Preparation
Here’s what you’ll need to crochet your scoodie:
- Worsted Weight Yarn (#4): Soft acrylic or wool blends work well. This yarn weight balances warmth and drape.
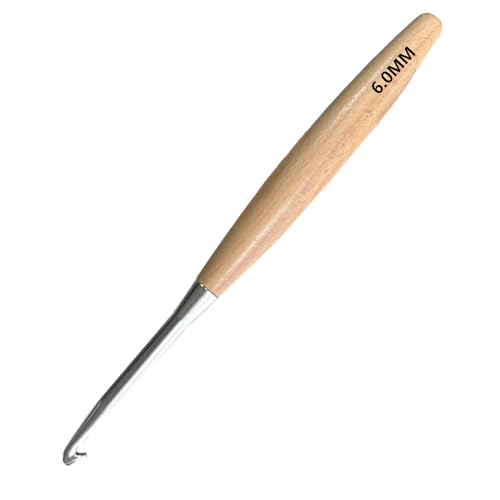
- 6mm Crochet Hook: The perfect size for this stitch pattern, providing both speed and structure.
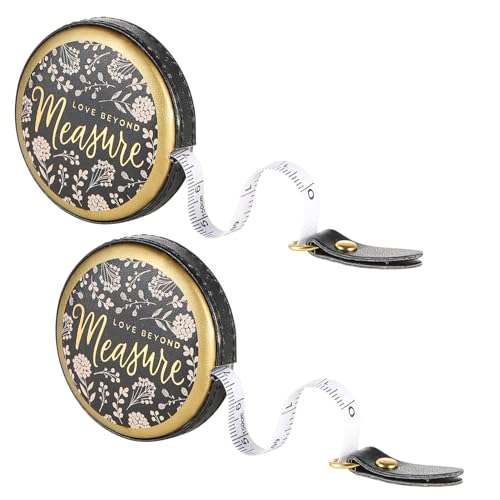
- Measuring Tape: To check when your panels reach 45″ long and 14″ wide.
- Scissors & Tapestry Needle: For finishing and seaming.




Sizing Notes
- Each panel will measure 45″ long by 14″ wide.
- Panels are worked tip to top with increases every 4th row.
- Each finished panel has 132 rows plus 2 straight rows at the widest part.
- Width = 34 single crochet stitches across.
Step 1: Begin at the Tip
- Start with a slip knot and chain 2.
- Work your first row of single crochet (sc) into the chain.
- This marks the narrow tip of your scoodie panel.
Step 2: Build the Panel with Increases
- Continue crocheting in rows of single crochet.
- Increase every 4th row by adding one stitch at each edge.
- This gradual increase widens the scarf evenly as you move toward the hood.
Step 3: Work Until Panel is Full Size
- Continue until the piece measures about 45″ long and 14″ wide.
- At this point, you should have about 132 rows completed.
- Work 2 additional straight rows (no increases) at the widest point to stabilize the width.
- Your panel should now measure 34 stitches across.
Step 4: Make a Second Panel
- Crochet a second panel using the exact same steps.
- Lay both panels side by side—they should be identical in shape and size.
Step 5: Join the Panels
- With right sides facing, seam the two panels together up the back of the hood.
- You can use whip stitch or slip stitch depending on your preferred look.
- The joined panels form the hood naturally while leaving scarf tails on each side.
Step 6: Finish the Edges
- Work a border of single crochet around the hood opening and scarf edges if desired.
- This gives the scoodie a clean finish.
- Optional: Add tassels, fringe, or buttons for flair.
FAQS
Q: How many stitches wide is the scoodie?
A: Each panel is 34 stitches across at the widest part.
Q: How long does it take to crochet?
A: With worsted yarn and a 6mm hook, you can finish in about 6–8 hours.
Q: Can beginners follow this pattern?
A: Yes! This is an easy crochet hooded scarf pattern using only single crochet stitches.
Conclusion
This crochet scoodie pattern is proof that beautiful accessories don’t need to take weeks. By working two panels from tip to top with increases every 4th row, you’ll create a scoodie that’s both cozy and stylish. At just 45″ long by 14″ wide per panel, it’s the perfect weekend—or even one-day—project.
👉 Watch the full step-by-step video here: Crochet A Scoodie In Just A Day With This Easy Crochet Tutorial
And don’t forget your supplies before starting:
- Worsted #4 Yarn
- 6mm Hook
- Stitch Markers
- Measuring Tape & Scissors